
Weekend Warrior: Tackling Your First Home Renovation Without Overspending

Key Takeaways
- Scope your first project to match your skill level to avoid costly mid-project pivots.
- Build a contingency fund of 15 to 20 percent on top of your material estimate.
- Many renovation tasks require permits; skipping them can create legal and resale problems.
- Prep work typically determines the quality of the finished result more than the materials do.
- Knowing when to call a licensed professional saves money compared to fixing a DIY error.
Start here
Choosing the right first project
Next
Building a budget that holds
Then
Tools, permits, and knowing your limits
Ready to act
Executing the work without expensive mistakes
Choosing the right first project
The most common reason first renovations go over budget is a mismatch between the project's complexity and the homeowner's experience. Picking a project that fits your current skill level is not about being cautious; it is about finishing what you start without calling in expensive help halfway through.
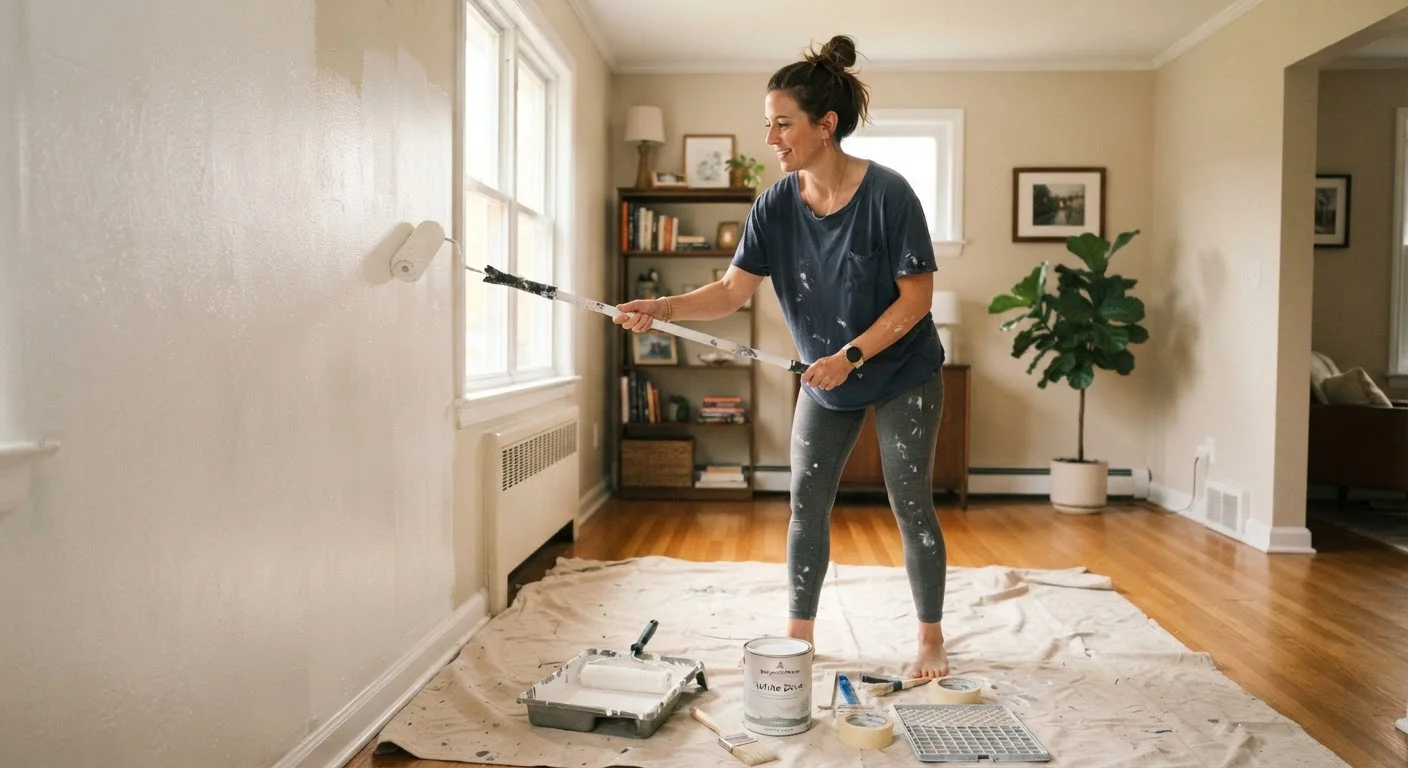
Good beginner projects share a few qualities: they do not touch structural elements, they are reversible if something goes wrong, and the materials are forgiving. Interior painting, replacing cabinet hardware, installing a new bathroom vanity light fixture, or laying peel-and-stick floor tile in a small room all fit this description. Each can be completed in one or two weekends with basic tools.
Projects to avoid at the start include anything involving load-bearing walls, the electrical panel, gas appliances, or main water supply lines. The cost of correcting a mistake in these areas almost always exceeds what DIY saves. For a clear picture of where the line falls, see when DIY saves money versus hiring a professional.
Scope creep
When a project gradually expands beyond its original plan, adding cost and time that were not budgeted for.
Contingency fund
A reserved portion of your budget set aside specifically for unexpected costs that arise during the project.
Load-bearing wall
A wall that supports the weight of the structure above it; removing or altering one without professional guidance can compromise structural safety.
Building permit
Official approval from a local government agency that confirms a planned construction or renovation project meets safety codes.
Substrate
The underlying surface a finish material is applied to, such as drywall behind tile or concrete beneath flooring.
Building a budget that holds
A budget built on rough guesses will not hold once you are standing in the aisle pricing materials. Write down every item the project requires, get at least two supply cost estimates, and total them before committing to the work.
On top of that total, set aside 15 to 20 percent as a contingency fund. Older homes in particular often reveal surprises once walls open or flooring comes up: water damage, outdated wiring, or substrate problems that need addressing before finishing work can proceed. That contingency fund is not extra spending money; it stays reserved until the project is complete.
Tool costs belong in the budget too. If you do not own a tile saw, a quality paint sprayer, or a miter saw, price tool rentals at local hardware stores alongside purchase costs. For a single project, rental usually costs less than buying a tool you may use once. Freeing up household budget in other areas can help fund renovation costs without taking on debt.
Measure twice, buy once
Calculate material quantities from your room dimensions, then add 10 percent for waste and cuts before purchasing. Returning excess materials is usually straightforward, but making a second trip for more adds both time and cost. Writing measurements on a sheet of paper at the hardware store prevents common purchase errors.
Tools, permits, and knowing your limits
A beginner toolkit for most interior projects includes a tape measure, a level, a cordless drill, a utility knife, and a stud finder. These cover the majority of tasks in painting, fixture replacement, and light carpentry. Buy quality on items you will use repeatedly; for single-use specialty tools, rent.
Do not skip electrical and gas safety steps
Any work near electrical wiring or gas lines carries serious injury risk if done incorrectly. Always switch off the relevant circuit breaker and confirm the power is off with a non-contact voltage tester before touching any wiring. Gas line work requires a licensed plumber or gas fitter in virtually every U.S. jurisdiction; this is not a task to attempt without professional credentials.
Permits are a separate issue that many first-timers overlook entirely. In most U.S. municipalities, work that changes the electrical, plumbing, or structural elements of a home requires a permit and at least one inspection. Cosmetic work, such as painting or replacing hardware, typically does not. When in doubt, contact your local building department before starting. See the note below on why this protects your investment long-term.
Permits protect your investment
Unpermitted work can surface during a home sale inspection and may require you to undo completed work at your expense. Some homeowners insurance policies also exclude damage that results from unpermitted modifications. A quick call to your local building department before starting clarifies exactly what your project requires.
Knowing your limits also means reading instructions fully before starting, not while stuck midway through. Manufacturer installation guides exist for good reason, and most project errors trace back to steps that were skimmed or skipped.
Executing the work without expensive mistakes
Prep work determines the quality of the finished result more consistently than material cost does. Walls painted without cleaning and priming the surface first show every flaw. Tile laid over a substrate with flex in it cracks within months. Taking time at the beginning of the physical work to prepare surfaces correctly prevents rework that doubles your time and materials cost.
Scope creep is the other budget killer during execution. Once work begins, it is tempting to expand: replacing one fixture becomes replacing all of them, or repainting one room becomes repainting the hallway. Each addition seems small in isolation but erodes a budget that was sized for the original plan. Finish the planned project first; additional work can follow as a separate budgeted effort.
Document the project as you go with photos, particularly before closing up any walls or covering any substrate. This record is useful for future repairs, insurance purposes, and understanding what is behind finished surfaces. For a structured approach covering planning through final inspection, proven project management habits give experienced homeowners an edge worth borrowing. Once the basics are solid, small targeted upgrades can extend the improvement further without major expenditure.