

Key Takeaways
- Surface preparation is the most overlooked step and the most common reason caulk fails early.
- Using the wrong caulk type for the location causes premature cracking, shrinkage, or mold growth.
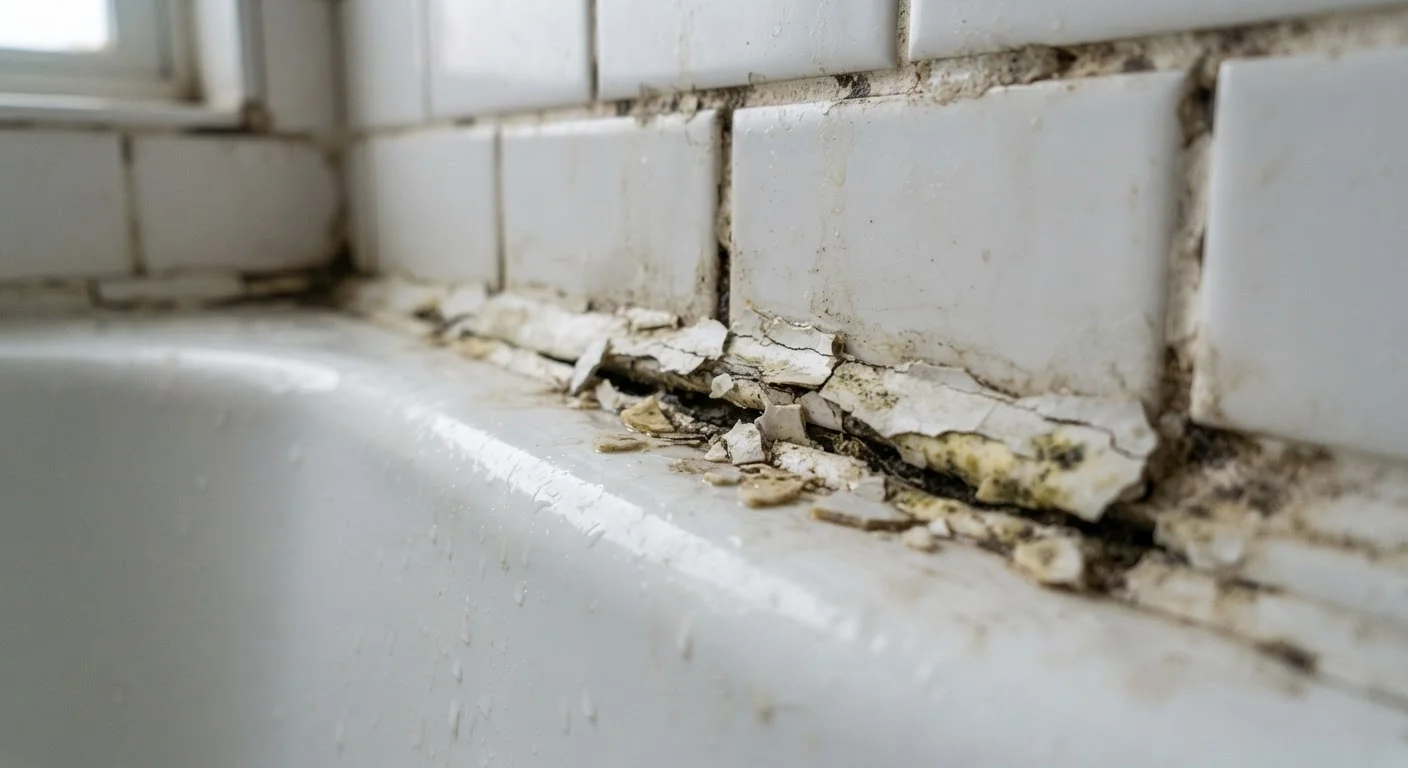
- Applying caulk over old, deteriorated caulk traps moisture and shortens the new seal's lifespan.
- Curing time matters: loading a tub with water before caulk fully cures breaks the bond.
- A thin, consistent bead outperforms a thick glob every time.
Why caulk failure is a real cost problem
A failed caulk seal is not just an eyesore. Water that slips past a cracked bead around a tub, window frame, or exterior door can saturate drywall, rot framing, and invite mold. The U.S. Department of Energy estimates that air leaks through gaps around windows, doors, and penetrations can account for 25 to 40 percent of heating and cooling energy loss in a typical home. Caulk is one of the cheapest fixes for that problem, but only when it holds.
Most caulk failures trace back to a small number of repeatable mistakes. Fixing your approach costs almost nothing and can save a household hundreds of dollars over several years in avoided repairs and lower utility bills. See our room-by-room leak audit to identify where water may already be getting in.
The most common caulking mistakes
The mistakes below appear repeatedly in failed DIY caulk jobs. Each one is avoidable with a small change in habit or materials.
Skipping surface cleaning and drying before application.
Why it happens: Caulk feels like it sticks to almost anything, so many people apply it directly over dusty, damp, or soap-filmed surfaces without cleaning first.
Using the wrong caulk formulation for the location.
Why it happens: Hardware stores carry many tube types side by side, and the labeling can be confusing. People often grab a general-purpose product for a wet or high-movement joint.
Caulking over old, deteriorated caulk without removing it first.
Why it happens: Full removal looks tedious, and a fresh bead on top seems like a quick fix when only a section of the old bead has cracked.
Applying too thick a bead.
Why it happens: Thicker seems like more protection. Many first-time users squeeze out a large bead hoping it will cover the gap completely.
Not allowing full cure time before exposing the joint to water or movement.
Why it happens: Caulk feels dry within an hour of application, which creates a false signal that it is ready for use.
Ignoring joint movement when choosing a rigid caulk.
Why it happens: The flexibility differences between caulk types are not obvious from the tube, and rigid latex products are often cheaper.
For a broader look at DIY habits that backfire, the DIY home improvement myths article covers several related pitfalls worth reading before your next project.
Getting the prep work right
Preparation takes longer than application, and that proportion is correct. Start by removing every trace of the old caulk. A plastic or brass removal tool scores the bead without scratching tile or fiberglass, and a utility knife handles stubborn edges. After mechanical removal, wipe the joint with isopropyl alcohol (70 percent or higher) and let it dry for at least 30 minutes. Any remaining soap residue, mildew, or moisture will prevent adhesion.
On porous surfaces such as grout or bare wood, a thin coat of compatible primer improves bonding. Check the caulk manufacturer's data sheet for primer recommendations specific to that product. Skipping that step on a porous substrate is a common reason a bead that looks perfect on day one peels away within months.
Check for mold before you re-caulk
If the wall surface or grout behind the old caulk shows black or green discoloration, re-caulking without treating the mold first traps active growth inside the wall. Clean the area with an appropriate mold-killing cleaner rated for the surface material and allow it to dry completely before applying new caulk. If mold appears to extend behind tile or into the wall cavity, consult a qualified professional before proceeding.
For projects that go beyond caulking into structural or plumbing repairs, planning and walkthrough habits used by experienced homeowners can help you stay on budget and avoid surprises.
Application and cure: where patience pays
Cut the tube tip at a 45-degree angle to a small opening, roughly 3/16 of an inch for most household joints. A smaller opening gives you more control than a large one. Move the gun at a steady pace so the bead is consistent in width. If the bead is uneven, smooth it immediately with a wet finger or a caulk tool before it skins over.
Cure time is not the same as dry time. Many latex caulks feel dry to the touch within an hour but require 24 hours before light use and up to 72 hours before the joint takes water. Silicone products often need longer. Filling a bathtub before the caulk cures stretches the joint and breaks the bond at the tile edge, which is exactly the failure pattern that sends homeowners back to the hardware store a month later. Read the product's cure time data before the joint sees any stress or moisture.
This article provides general home improvement guidance. Local building codes, material requirements, and conditions vary. Verify specifications with product data sheets and consult a qualified professional for any work beyond your skill level or comfort.