

Key Takeaways
- Compost made from kitchen scraps and yard waste costs nothing and improves soil structure over time.
- Fallen leaves collected in autumn make free mulch and break down into valuable organic matter.
- Cover crops planted in empty beds fix nitrogen and reduce the need for purchased fertilizer.
- Soil health builds gradually, so starting simple and consistent beats expensive one-time treatments.
- Testing your soil before adding amendments saves money by targeting only what is actually missing.
What you will need
Why soil quality matters before anything else
Most garden problems trace back to the soil. Plants struggling to establish roots, vegetables with poor yields, and seedlings that collapse after transplanting often share one cause: soil that lacks organic matter, proper drainage, or the microbial activity roots depend on. If you want to understand why transplants fail, see our guide to seedling problems.
Buying bags of soil amendment at a garden center adds up fast, especially across a full season. The good news is that the most effective soil-building materials are either free or very cheap, and they come from things most households already have or produce.
This guide covers four practical methods: composting, leaf mulch, cover crops, and basic soil testing. Each one works on its own. Used together, they can transform compacted or depleted ground into productive growing soil over one to two seasons without a large investment.
Start small and build the habit
A single compost bin and a pile of raked leaves are enough to start improving your soil this season. You do not need every method at once. Pick one, work it consistently for a full season, and add a second method the following year. Gradual, low-cost changes tend to stick better than trying to overhaul everything at once.
How to build and use a compost system
Composting converts kitchen scraps and yard waste into a dark, crumbly material that feeds soil microbes, improves water retention, and adds slow-release nutrients. A basic pile in a corner of your yard costs nothing to start.
Choose a compost site and container
Pick a spot that gets partial shade and is within reach of a water source. A bare-ground area about 3 feet square works well. You can contain the pile with four wooden pallets wired together at the corners, a circle of wire fencing, or no container at all if space allows.
Layer brown and green materials
Good compost needs a mix of carbon-rich brown materials (dry leaves, cardboard, straw) and nitrogen-rich green materials (vegetable scraps, grass clippings, coffee grounds). Aim for roughly two parts brown to one part green by volume. Add a thin layer of garden soil between layers to introduce microbes.
Keep the pile moist and turn it regularly
The pile should feel about as moist as a wrung-out sponge. If it is too dry, add water. If it smells bad, it is likely too wet or short on brown materials. Turn the pile every one to two weeks with a pitchfork to move outer material to the center and speed decomposition.
Recognize finished compost
Compost is ready when it looks dark and crumbly, smells earthy rather than like rotting food, and you can no longer identify the original materials. This typically takes two to six months depending on pile size, moisture, and how often you turn it.
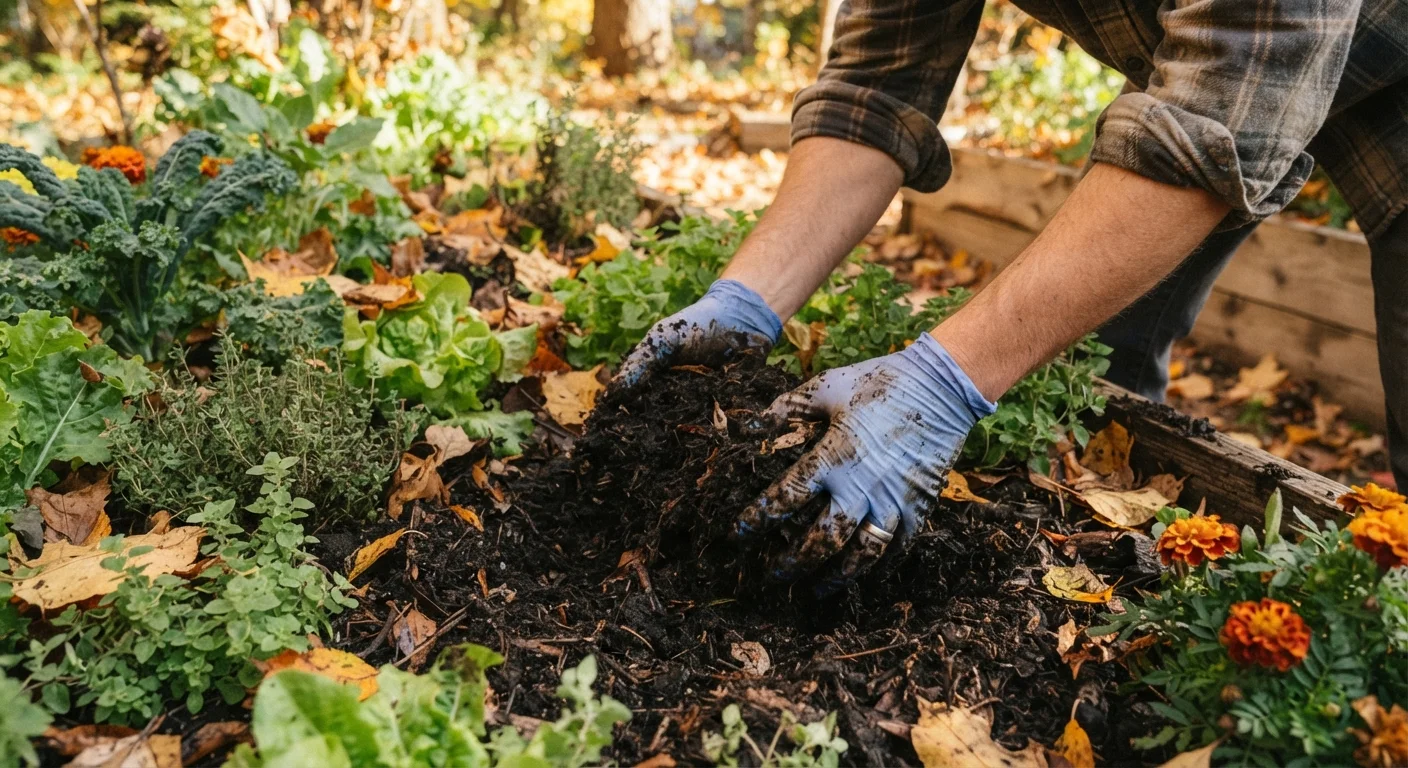
Once your compost is ready, spread a 1 to 2 inch layer across garden beds in spring or fall and work it lightly into the top few inches of soil. A mature pile can produce enough material to treat a 100-square-foot bed two to three times per year, depending on how much organic material you put in.
For families getting started with a full garden plan, starting a family garden without spending a fortune covers how composting fits into a broader low-cost setup.
Leaf mulch and cover crops as free soil builders
Fallen leaves are one of the most underused free resources in home gardening. Raked into a pile and left to decompose, they become leaf mold: a coarse, spongy material that improves drainage in clay soils and water retention in sandy ones. Shredding leaves before piling them speeds the process from two years to about six months.
You can also use shredded leaves directly as mulch. A 2 to 3 inch layer spread over bare soil suppresses weeds, moderates soil temperature, and slowly feeds the soil as it breaks down over the season. Many neighborhoods have leaves available for free in the fall, either from neighbors or through municipal collection programs that let residents pick up bagged leaves before the trucks run.
Cover crops work differently but serve a similar purpose. Planted in empty beds after harvest, crops like annual rye, crimson clover, or winter oats grow through fall and early winter, then get turned back into the soil before spring planting. Leguminous cover crops such as clover fix atmospheric nitrogen into a form plant roots can absorb, which reduces the need for added fertilizer. Seed for a small bed typically costs under five dollars.
Pairing cover crops with a seasonal planting calendar helps you time planting and termination to fit your region's frost dates.
Soil testing: spend a little to save more
Adding amendments without knowing what your soil lacks wastes money. A basic soil test, available through many state cooperative extension offices for under fifteen dollars, tells you the pH and levels of key nutrients like nitrogen, phosphorus, and potassium. The results come with specific recommendations rather than guesswork.
Most vegetable gardens perform well at a pH between 6.0 and 7.0. If a test shows your soil is too acidic, ground limestone is a low-cost correction. If it is too alkaline, sulfur or additional organic matter brings it down. Neither amendment is expensive when applied based on actual test results rather than routine habit.
Skipping the test and buying a range of products to cover all possibilities is one of the garden myths worth dropping. Our article on garden myths that cost time and money covers other common habits that add cost without adding results.
Soil improvement is a process, not a single purchase. Composting, mulching with leaves, planting cover crops, and testing before amending are habits that compound over years. Families working on stretching their vegetable garden budget will find that healthy soil reduces spending on water, fertilizer, and replacement plants season after season.